Contents
Let the do-it-yourself mood get to you this Christmas.
It doesn’t matter if you’re good at it or not, just put a lot of fantasy and emphasis in it. You can recreate enchanting atmospheres to add that extra touch of elegance to your Christmas. Decorating your house with many little DIY compositions will make your Christmas full, bringing every part of your house joy and holiday spirit.
When you think about Christmas, the first thing that pops into your mind is the colorful holiday that fills our home with many colorful christmas decorations, that gathers all the family around the table, the tree is the main chacarter, lots of balls and lights, and the constant scent of chocolate.
You can find so many ideas on the internet to decorate your home, do-it-yourself has been very popular for a while now. It’s for people who always want to change, to use their fantasy and creativity, for those who love experiments and get easily bored with the same old decoration bought once and taken out of its box every year.
Not everyone has enough time to spend in this activity, especially the people that work many hours outside their homes. You don’t need to make complex decorations that take a lot of time, some are very easy and could be made even in the shortest time. You can give them to your friends, or keep them and decorate your home. We can assure you that once the decoration is complete, you’ll feel very proud of your creation. Besides being a way to feel Christmas deeply, DIY is also a way to save money on the so expensive decorations that you can find in stores.
Here we propose some easy and nice ideas that will not require much time, and that will let you use objects you have at home so that you can reuse everything you have, and be able to change it everytime.
Idea #1: marmelade jars or a glass
Use the marmelade jars or just a glass:
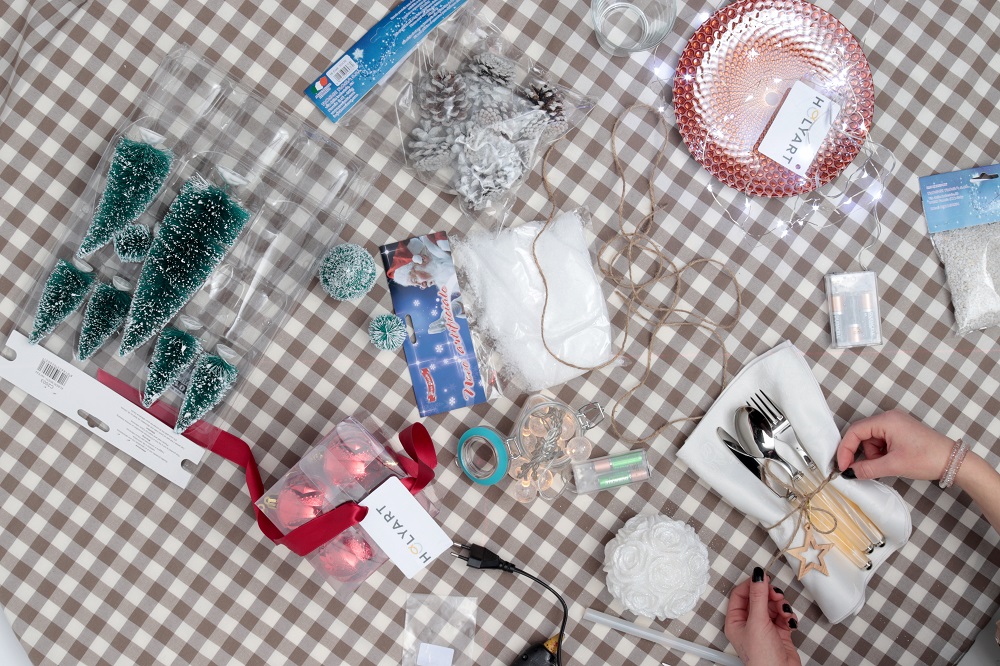
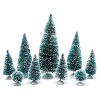
put a layer of rice, simple rocks, gravel or rock salt, then place a candle or evergreen and red berries. If you use small tea-lights, you will be able to keep the jar intact by replacing the candle every time it’s over, and leave it on the windowsill as decoration for windows. You could just put some lights inside, the ones with a translucent wire, decorated with a ribbon or jute twine around the top of the jar for a shabby-chic effect, or maybe a pinecone or a little bell. Using a jar again, you can spray fake snow inside and draw a frame on the inside with your finger, then place a small tree that you can glimpse at from the frame.
Take a cue from the following pics!
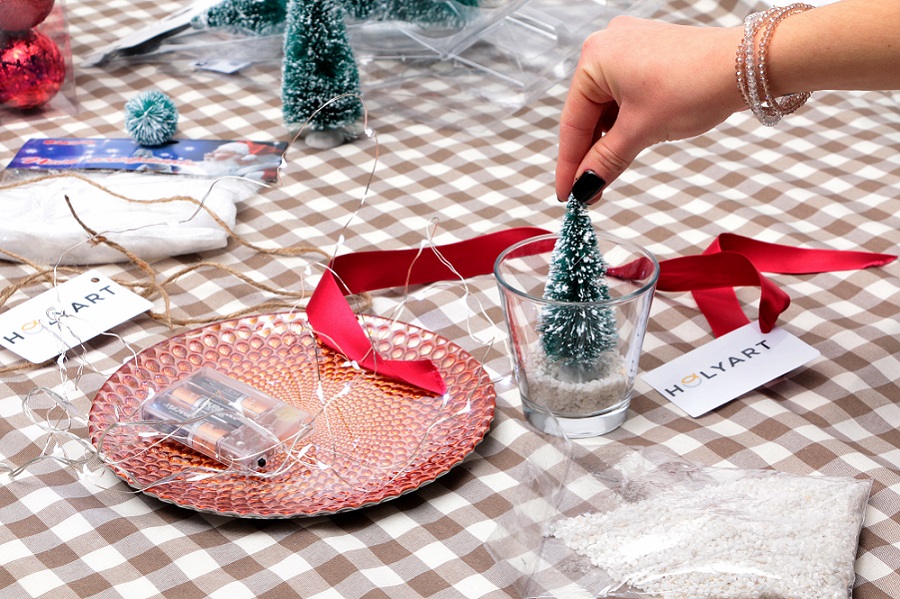
A very easy but effective idea for a dinner with friends or family: place many jars in different places of your home, among pieces of furniture, tables, shelves, and there you have an original and enchanting atmosphere with not much costs nor efforts.
Buy the necessary tools to create this simple DIY Christmas decoration on Holyart!
Idea #2: Sconce or Centerpiece
Another idea we suggest is the sconce or the centerpiece.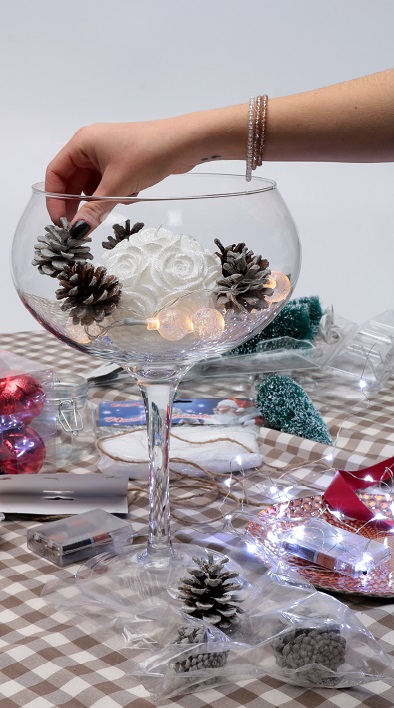
You will need:
- a container, a tray or a plate, choosing the color and the material you prefer;
- candles, we recommend white if the container is of a bright color;
- Candles will have to be the same height, round, and same diameter, about 5 cm.
- hot glue;
- natural materials to fill the base that can be twigs, leaves, pine cones, nutshells, cinnamon sticks, acorns, red berries.
Place the candles on the base and fix them with hot glue; if your tray or container is rectangular, we recommend placing them in lines, while if it’s rounded, we suggest placing them in a circular pattern. Once the candles are glued, proceed with covering their bases with spruce or other evergreen trees twigs. Put a few red berries in some areas and that’s it! You can add a ribbon with lights, or just a ribbon tied with a bow in the middle.
The best part of this kind of activity is that there is no right or wrong, you just have to try the various objects palcements before glueing them. Take cues always, from the many pictures you can find on the internet or magazines.
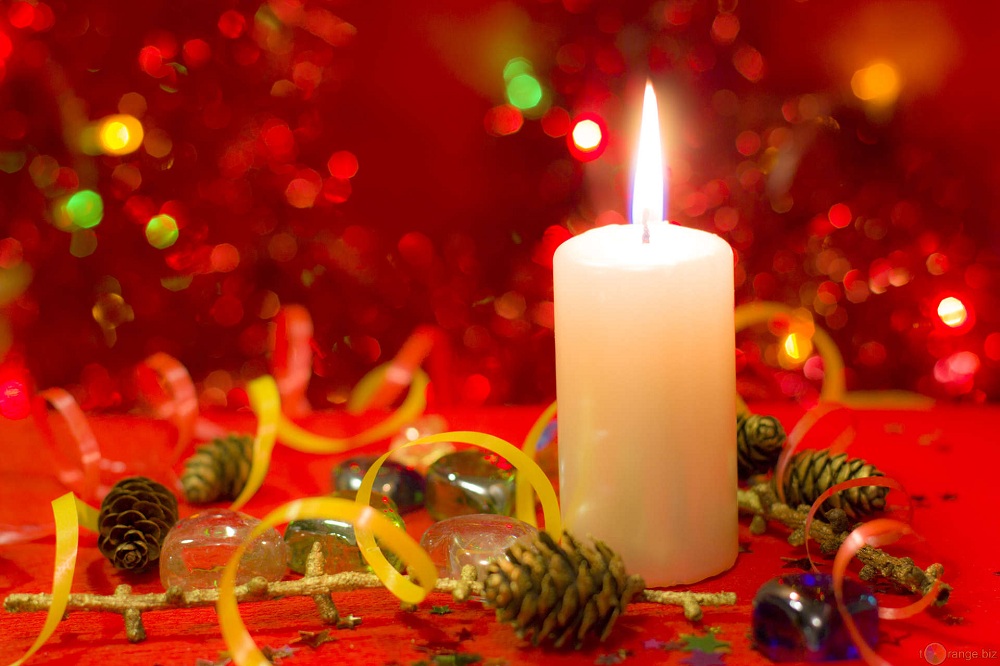
You could just put a round candle inside a jar or container with a particular shape, surround it with glitter, lights and pine cones. Quick but effective Christmas ornament.
Idea #3: the Christmas napkins
Another DIY Christmas decoration we propose is the decoration for your Christmas napkins:
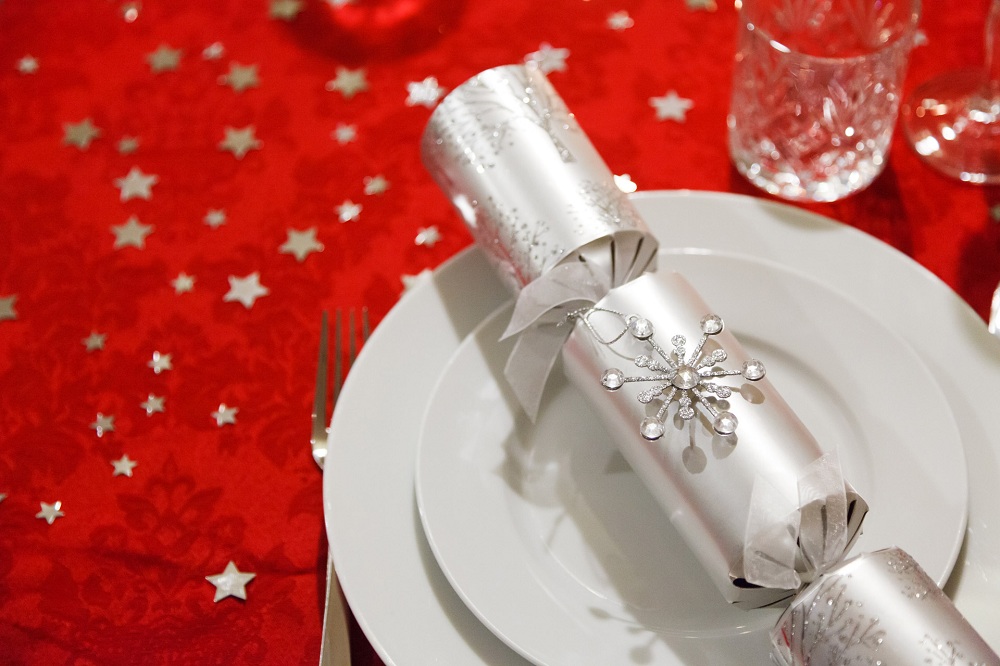
To create a simple but original decoration, take a spruce twig, long enough so that you can wrap it aroung the napkin with a knot; for a chabby-chic look the twig could be in jute. You can add a card with the guest’s name on it as a seat marker, or a special writing dedicated to each guest.
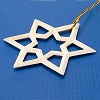
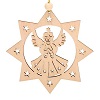
Alternatively, take your napkin and fold it on its long side with cutlery inside, tie a jute thread around it to give it a rustic look, and let a little decoration, like the ones you hang on your tree, pass through it. We chose a little star, carefully selected given its small size and its color that get along well with the colors of our tablecloth.
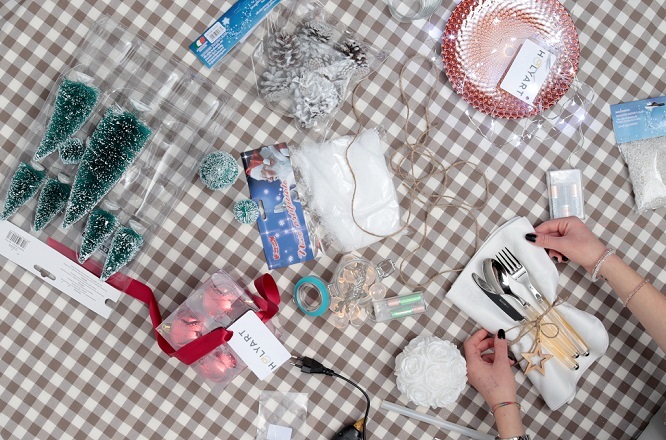
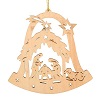
Have fun inserting these little tree decorations in your guests’ napkins. An easy and original idea that will aloow you to use these ornaments in a different way every year!
Idea #3: old balls
If you’ve been decorating your tree with the same old balls, and you decided you want to change them, don’t leave them in boxes in your basement or closet.
We suggest a graceful idea to reuse them!
If you have a cookie box with a glass lid, we propose putting some led lights with translucent thread inside and twist them around a colored ball, just a simple round ball works, but a Santa Claus-shaped ornament for the tree works as well.
One more idea using balls:
Take the hooks off the balls (which you can easily do, but carefully), fill them with water until half so that they can stand still on the table thanks to their weight. Fix the hook again, tie a bow to it, and write the guest’s name on each ball with permanenk ink. Now you can place them as seat markers on the table. Some useful suggestions in order to make this work: choose balls of the same color for the whole table for a balanced effect, choose smooth balls with no embossing nor glitters so that you can easily write the names on them. We suggest having fun and match colors: if you have white plates with silver or gold lines, choose silver or gold balls, otherwise red is surely fine.

