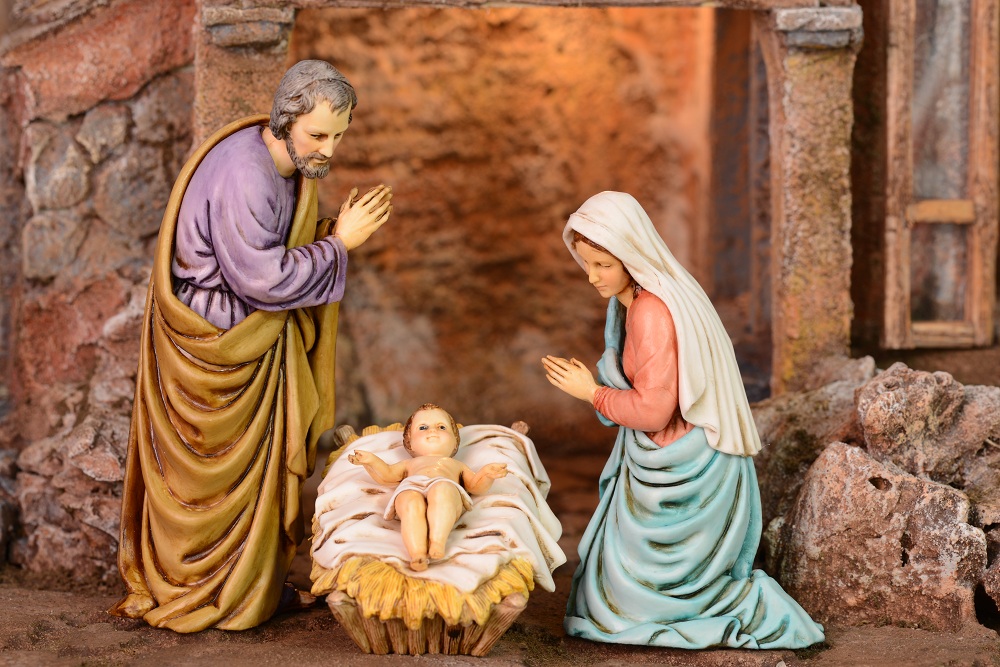
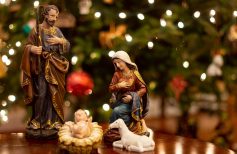
The Nativity scene is an ancient and everlasting tradition, especially in our counrty, but in general in all Catholic countries. It is a reenactment of the birth of Jesus Christ in Bethlehem set during Christmas. The setting includes the hut, the manger where the statue of Baby Jesus is put between December 24th and 25th, Mary, Joseph, the ox and the donkey, the worshipping shepherds and later the Wise Men.
Throughout time this setting was filled with many more and various characters, taken from the Gospel tradition (it is especially Matthew and Luke that showed us the Nativity and Jesus’ childhood in their Gospels), and from the popular and folklore of the various places where the Nativity was created.
In Italy the Nativity was born during the medieval age, and even though it was a prerogative of religious and noble places for a long time, it received a great popular approval from the beginning.
It is still today considered a very popular devotion act during Christmas time, when you can admire wonderful Nativities in churches and public places, but also many families keep the tradition of setting up the birth of Jesus in their homes, using statues and accessories passed on from generations.
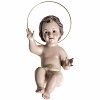
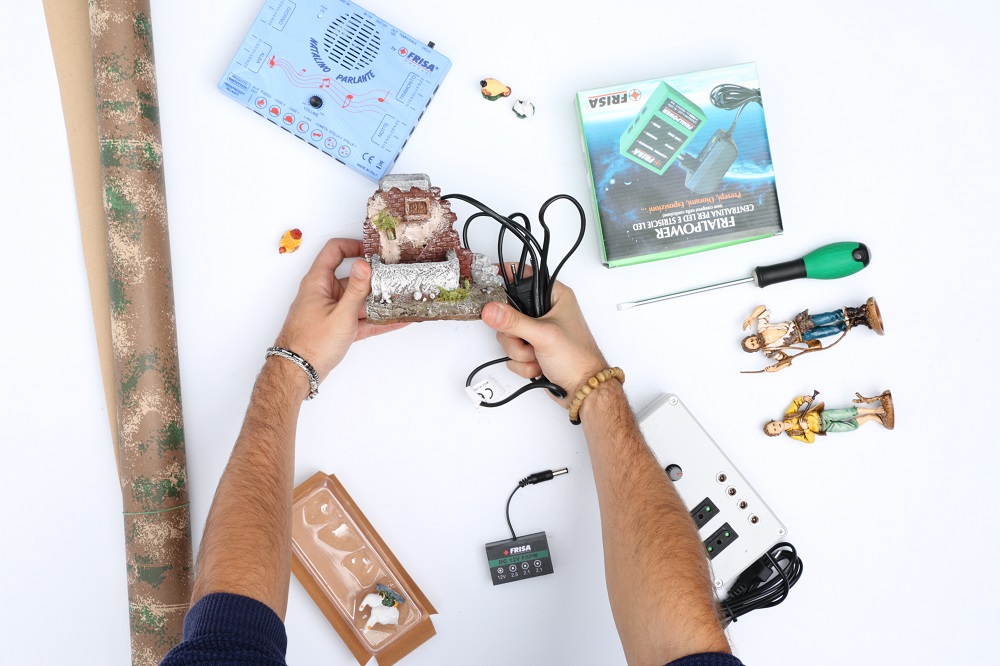
Others prefer to set up their Nativity scene in an artisanal way, recreating the scenography with waste materials and just buying statues and some elements to improve realism.
Some others build the characters on their own too, with wood, paper, papier-mache, fabrics. The possibilities are many, and only depend on each one’s available time and creativity. Of course it’s possible to find many ideas on the internet, or walking around in Christmas markets. There are also many tutorial videos that teach how to create the various Nativity elements step by step. You just need time, patience, and willingness to work, besides easily reachable materials such as wood, cork, Styrofoam, moss, sand, cardboard, paper, or other more professional materials such as plywood, hot glue, chalk, and even polyurethane, for the most corageous.
The base and the background
Let’s begin from the backcloth and the base of our Nativity scenes, the first things to prepare. First, you’ll need to find an adequate position in your home where you can set up the whole scene without hindering anyone’s moves. It will have to be a well lit place, or that gives the possibility to be brightened up by spotlights.
Some people like to place the Nativity inside a cozy and delimited structure, like a box, a chest or even an old TV, obviously emptied of every electric component! Once a base has been found, which could be a table or a piece of furniture rather than a box, the nest step is to “build” the ground where we will place our Nativity.
You can use cardboard boxes covered in paper, or Styrofoam sheets that can be modeled and cut. It is a good practice to create a setting on various grounds, so that the perspective element is present.
We could cover the various grounds with printed paper that resemble rocks, rolling newspapers into balls and putting them under the grounds to create drops and asperities. If we are creative enough, and have good manual skills, we can create rocks and mountains with papier-mache painted with acrylic colors. In addition, foam, jute, Styrofoam, cork and wood can be adquate materials to create the landscape of our Nativity.
They will have to be covered in chalk, and once they’ve dried, can be painted with natural colors to imitate the shades of a real mountain landscape. You can also collect stones, soil and sand and use them for our scenery.
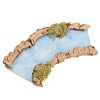
A river or a pond, even a waterfall, will add realism and beauty to our landscape. Many small hidraulic systems can be found for sale, where water actually runs with extraordinary effects. With those you can power a resin fall, the meander of a river, or maybe a fountain. If you prefer to create something less sophisticated and more handcrafted, there are many interesting options. The most common is using slightly wrinkled aluminium foil, maybe painted with a blue color, to give more realism to the color. With small stones and moss you can mark the run of the river, and possibly, put a small light chain underneath, make some holes in the foil, and obtain a wonderful bright river. Fragments of glass and plastic balls glued together can be a precious help when creating our river, as a small mirror can turn into a nice pond.
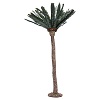
Bethlehem was located in a desert, barren area, with just a few plants, all gathered in some areas. Besides grass-looking paper available in stores, moss can be a great material to make bushes, while we could create wonderful palm trees with just wood sticks, wire, a pine cone and green paper, which will embellish our scenography.
Last but not least, the background for your Nativity. We can use already printed papers again, representing night desert landscapes, or just a starry night decorated with silver stars. You can also paint a sky full of stars and many shades of blue on your own, making holes on the back and putting lights behind, so that the effect of the starry sky is complete. There are also more modern ways to represent the sky over Bethlehem, such as projectors for Nativities or fiber-optic systems, controlled by fade-out light regulators that gradually switch stars on and off, or a spotlight that reproduces the trembling.
We always have to remember that Bethlehem was a small village, therefore, besides the natural context, we will have to place also houses and variuos buildings in it.
Houses and buildings for the Nativity scenes
Old boxes, wood crates, containers of any kind can offer an excellent base to create the buildings in a Nativity scene. Once again, the result will vary according to our manual skills and ability to decorate.
We can choose to create the base on our own with Styrofoam, cork or wood, and then embellish it with small details we will buy such as doors, windows, terracotta tiles, bricks, wooden panels, fences, and so on. The pursuit for realism is valid for houses as well. We can find piecs of furniture and furnishings to decorate them with, such as chimneys, cupboards, and even crockery, baskets, jars, plates and bottles, to create real pictures of popular life, where we can move characters and animals.
The bases for the houses can be covered in crepe or tissue paper, or in jute, modeled with Styrofoam and then painted.
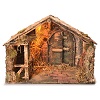
The most important building in a Nativity is surely the hut, or grotto, where Jesus was born. Even here we can go wild, starting from boxes or crates and working with wood, flywood, Styrofoam, green and brown paper, to create something really special. Or else, we can adopt more modern and complex systems. For example, we could make a grotto with polyurethane foam sprayed on a paper and wood structure, and then modeled to create our unique grotto. Polyurethane, like many other materials in this article, can be found in any DIY store. Even tree bark can be a very suitable material for the grotto, absolutely natural and cheap. We will just need to collect some pieces and glue them together to create a structure that will not even need to be painted nor covered.
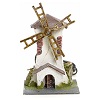
Another very important element of a Nativity scene is the mill. We could make one with styrofoam, glue, acrylic colors and maybe connect it to an engine that will move its blades in order to create a wonderful and realistic effect.
The empty cardboard of toilet paper or paper towel can work as a base for a well, using clay, wood sticks, pebbles and hot glue. A pulley and a small bucket can add that extra realistic and effective touch.
Characters
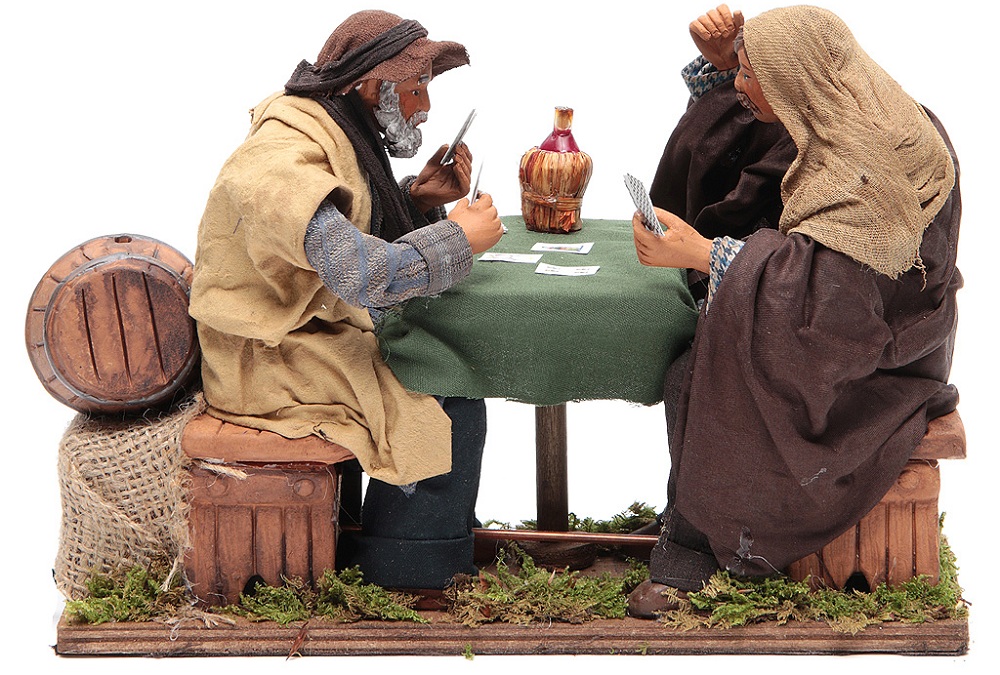
The statuettes of the Nativity scene are surely the most difficult elements to create at home. Nevertheless, we can surely attempt to create them, if we are good enough in modelling clay, plasticine, and maybe even carving wood. We can create them with fabrics, or just stylised figures, with cardboard or pine cones. In this case it would be nice, and perfectly in line with Christmas, to involve also the children in the creation, enhancing their willingness to work and stimulating their fantasy.

